We’re here to help you do just that with a ton of little tips and tweaks that will make sure you’re off and using that new iPad as quickly as possible. From backing up your old iPad (if you had one already) to getting up and running with a brand-new iPad from scratch, we’ve got you covered.
How to set up iPad
This new iPad set up guide will help you get started. The best way to set up an iPad is via an older iPad, iPhone or Android device. Apple’s great migration assistant will copy everything over.
But sometimes you want to start from scratch. It isn’t much harder — but you need to go through a few extra steps.
Your iPad should come charged enough to get started right out of the box so long as you bought new. Turn it on by holding the power button.
Getting started: Set up iPad
To set up your new iPad of the first time, bring your current iPad or iPhone close. Photo: Leander Kahney/Cult of Mac
Your iPad will probably come with enough battery charge to get started out of the box if you’re buying new. Turn it on by holding the power button on the top. You’ll have the option to set text size and accessibility settings for the setup process. Set the text to Default, Medium or Large and tap Continue.
If you’re jumping ship from an Android phone or tablet, tap Set Up Manually and continue. You’ll have to download the Move to iOS app on your old device. This app will guide you through the process of moving contacts, photos and more to your iPad.
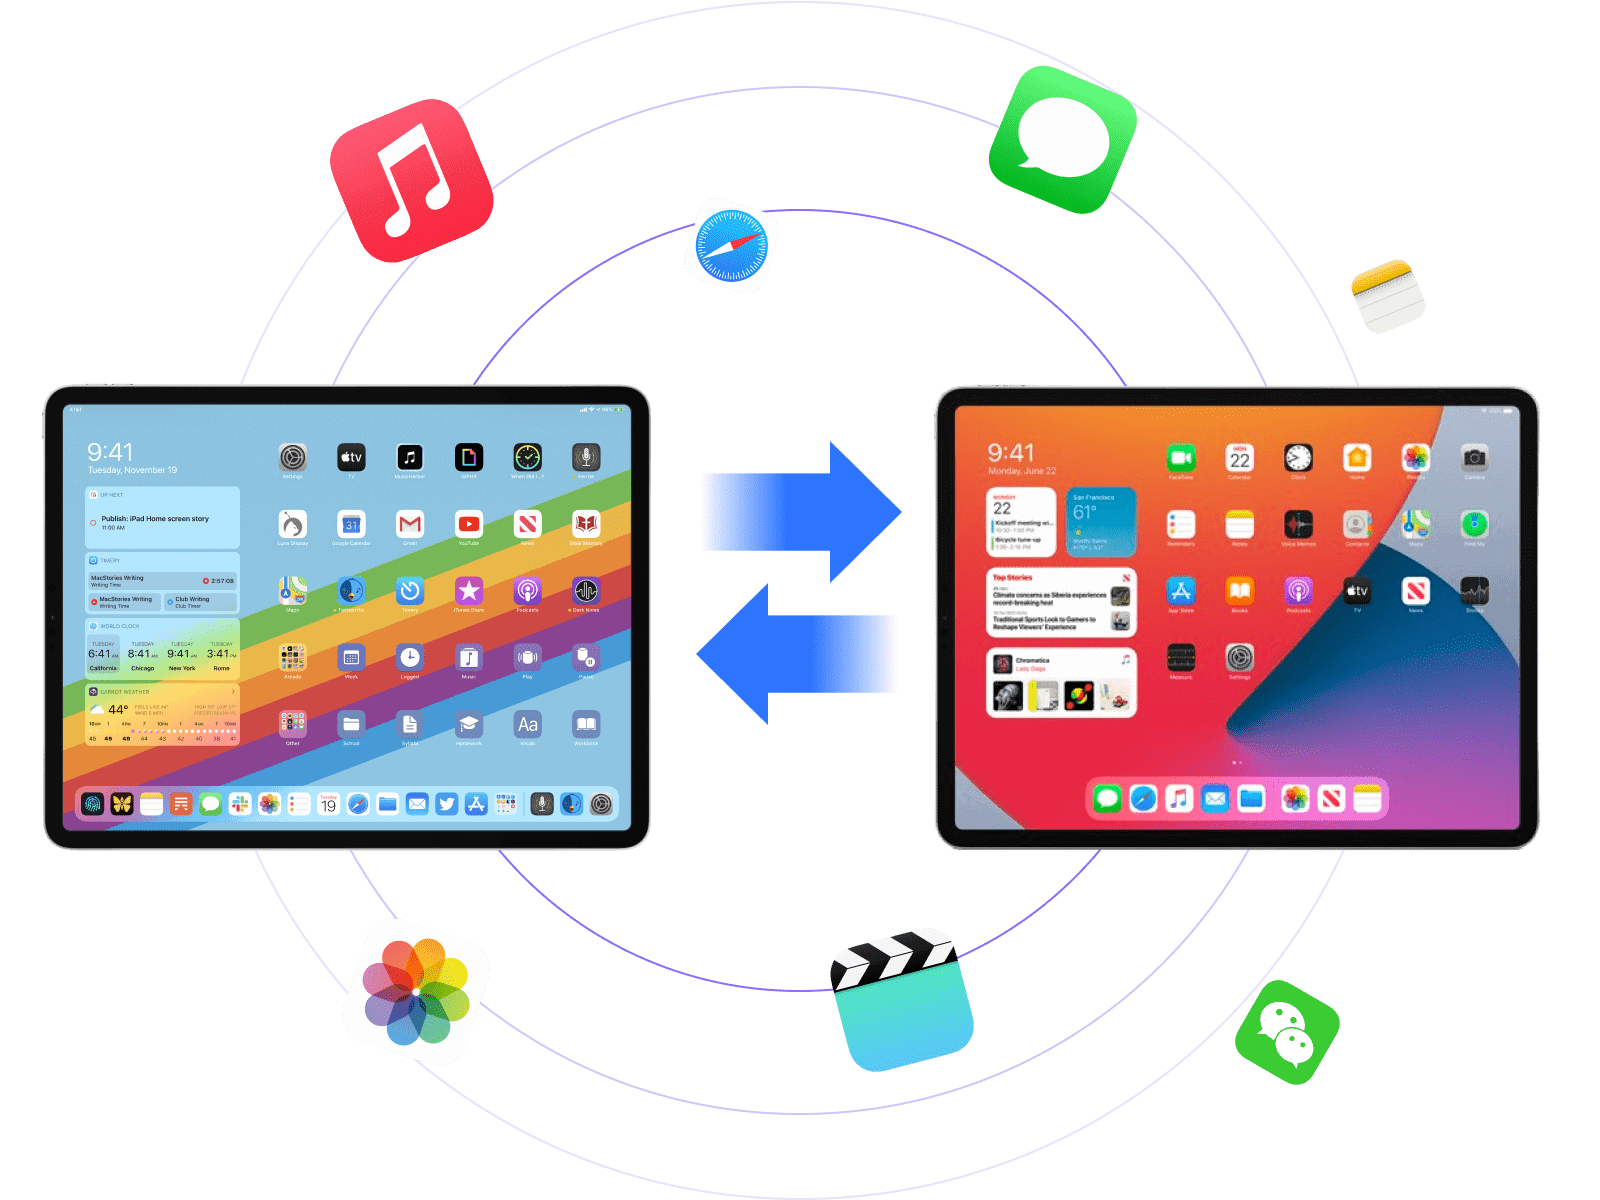
The easiest way to set up a new iPad is to use Apple’s Quick Start feature, which quickly transfers settings and apps from your old iPad to your new one.
If you’re transferring from another iPhone or iPad, hold both devices next to each other to get signed in and set up. They should automatically detect each other. (If not, make sure your old device is connected to the same Wi-Fi network with Bluetooth turned on.) This is the way we recommend you do it. It’s easy, and fairly fast and painless.
Activate your iPad
Your iPad will contact Apple to activate. If you’re setting up manually, you’ll need to connect to a Wi-Fi network. This will only take a minute or two.
If you have a cellular iPad, now is the time to insert your SIM card and activate it with your carrier. This process may involve calling your cell provider if it doesn’t automatically activate, but it should be as simple as inserting it into the SIM tray and waiting to connect.
After this step, you’ll need to choose whether you’re setting up the device for yourself or for a child. Tap either Set Up for Myself or Set Up for a Child in My Family.
Set up Touch ID or Face ID on your iPad
Definitely set up Touch ID or Face ID on your new iPad. Don’t skip this step. Photo: Leander Kahney/Cult of Mac
The high-end iPad Pro models have Face ID, but most iPads for sale have Touch ID built into the power button. The 9th-generation iPad still has Touch ID on the Home button.
Either way, it’s a faster and easier way to unlock your device instead of typing in a passcode. Don’t skip this step!
To set up Face ID, you just need to tilt your head around in a complete circle, as if you’re watching your best friend ride on a Ferris wheel all the way around.
When setting up Face ID and Touch ID, do a second face scan and add extra fingerprints: Both systems will work better when you come to use them.
To set up Touch ID, hold your finger against the button. You’ll need to do this several times, adjusting your grip and training it on your entire finger. The on-screen instructions will help you through it.
Transfer your apps and data
There are lots of options for transfering data to your new iPad. Photo: Leander Kahney/Cult of Mac
You have a few different choices for how you want to move your stuff over. If you’ve never owned a smartphone or a tablet before, just tap Don’t Transfer Apps & Data and tap here to skip ahead in our guide.
Set up iPad super easy: transfer from another iPad or iPhone
Tap Transfer Directly from iPad. This is hands-down the easiest way to move from an old iPad to a new one. All you have to do is keep your old and new devices close to each other. All of your apps, photos and data will be beamed from your old phone to your new phone. It works just like AirDrop.
Use a cable to speed up data transfer between your old iPhone and your new one.
If you want it to go even faster, here’s a pro tip: plug them together using a cable. It’ll use the wired connection for higher transfer speeds. Look around for a USB-C-to-USB-C cable (or Lightning-to-USB-C cable).
You’ll have to sit and wait while your data moves over. But it shouldn’t take too long — I transferred a friend’s iPhone X to an iPhone 14 Pro while at dinner in a restaurant, and their new phone was ready to go before we got the bill.
Are you looking for a way to avoid the iOS version requirements of QuickStart? If so, Apeaksoft iPhone Transfer is the perfect solution for you. With just a simple click, you can selectively transfer your data from one iPad to another.
Move Data from Android
If you have an Android phone or tablet, download Move to iOS from the Google Play Store. On your iPad, tap Move Data from Android, tap Continue and wait for the code to appear. Enter this code on your Android device (once you get the app opened).
Your iPad “will create a temporary Wi-Fi network” that your Android device needs to connect to. Once your two phones are connected, select the data you want to import and tap Continue.
It’ll copy over “contacts, message history, camera photos and videos, photo albums, files and folders, accessibility settings, display settings, web bookmarks, mail accounts, WhatsApp messages and media, and calendars.” Your iPad will automatically install any free apps that are available on both Android and iOS.
The Move to iOS app for Android doesn’t copy everything, but it will transfer contacts, calendars, messages, email accounts, photos and videos and some apps.
If this is a replacement iPad for one that is no longer of this world, you can tap Restore from iCloud Backup. This option will also set up your new iPad exactly as your old iPad, but you’ll need a reliable internet connection to download everything.
Pick the latest backup you have and wait. Your tablet will download all the essential data to restore it and continue with setup. After you’re done, stay connected — the iPad will continue to download apps, messages and photos in the background.
Sign in with your Apple Account
The next step to set up your iPad is signing in with your Apple Account (formerly known as Apple ID). This will enable all the essential Apple services. Tap Forgot password or don’t have an account? if you’re not sure if you have one.
Make sure to turn on iMessage and FaceTime. Then enable Location Services, iCloud Keychain and Apple Pay. And don’t skip setting up Siri.
Your new iPhone will ask you to turn on iMessage and FaceTime — make sure you do that. Turn on Location Services so you can get local weather and location-tagged photos. You don’t have to enable sending analytics to Apple.
If you want to use Siri, don’t skip setting up Hey Siri. I also recommend using Apple Pay if you have your cards handy — but you can always add these later in the Wallet app. Definitely turn on iCloud Keychain, the built-in secure password manager that syncs across all your devices.
You can turn on Screen Time if you want to be more mindful of how much time you spend on your iPad.
If you struggle with reading small text, I recommend turning on Display Zoom to scale up everything on your iPad’s screen.
After setting up iPad: Starting your iPad experience
Update your iPad’s software. Photo: Leander Kahney/Cult of Mac
One of the first things you’ll want to do is update your new iPad’s software to the latest release. Head to Settings, then hit General > Software Update. Your iPad will check if there’s an update to be installed. The process might take a while.
Once updated, check out your iPad’s Home screen. You’ll see all the apps included with your new iPad, including Messages, Mail, Reminders, and News. Tap and hold on any icon and they’ll all start to wiggle. You can tap and drag them around your Home screen now to order them in the way you’re most happy with, or even off the right edge of the screen to put the icons on a second (or third, or fourth) page.
Taking a trip to the App Store will be next, where you’ll be able to tap your icon in the top-right, tap Purchased and download any apps you already own to your new iPad. Many of the apps you’ve purchased for your iPhone have a corresponding iPad app and will show up here. Simply tap on the little cloud with the down arrow on it to get it to your new device.
Happy iPad ownership! Now you should be up and running with all the basics you need to start your new iPad life.
Note: D. Griffin Jones and Leander Kahney contributed to this article about how to set up iPad. We originally published this article on September 18, 2019. It was last updated on December 24, 2023, and December 20, 2024.
Newsletters
Daily round-ups or a weekly refresher, straight from Cult of Mac to your inbox.
Cult of Mac Today
Our daily roundup of Apple news, reviews and how-tos. Plus the best Apple tweets, fun polls and inspiring Steve Jobs bons mots. Our readers say: "Love what you do" -- Christi Cardenas. "Absolutely love the content!" -- Harshita Arora. "Genuinely one of the highlights of my inbox" -- Lee Barnett.
The Weekender
The week's best Apple news, reviews and how-tos from Cult of Mac, every Saturday morning. Our readers say: "Thank you guys for always posting cool stuff" -- Vaughn Nevins. "Very informative" -- Kenly Xavier.


The easiest way to set up a new iPad is to use Apple’s Quick Start feature, which quickly transfers settings and apps from your old iPad to your new one.